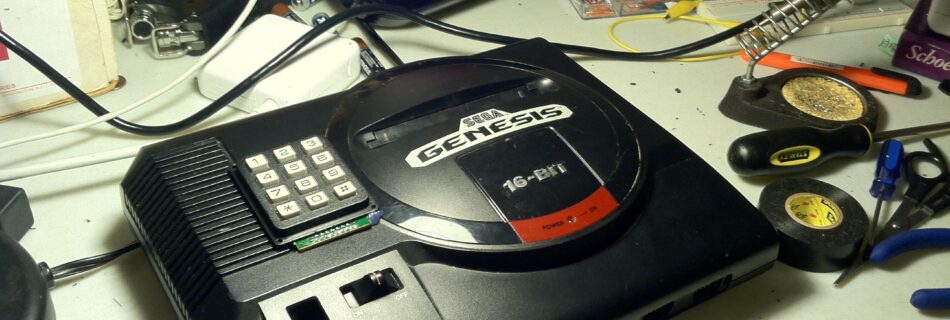
I circuit bent a Sega Genesis for MIDI-controlled glitch visuals. I can hook it up to a DAW or MIDI sequencer and then glitch out a game in sync with music.
I put this together a few years ago, but had some questions about it, so I cracked open the game system to show how it works. All I’ve done is set up some places to short out the VRAM, where the Genesis stores the sprites for the graphics. Then I added an Arduino to control when it short them out (triggered by MIDI).
Keep in mind that not all Genesis systems are the same, they have different board revisions, so your Genesis might have things in different places.
Back to the Sega Genesis Mods! If you’re catching up, check out Part 1 and Part 2.
Where we left off, I had found my glitch points, and I was going to get digging in to some kind of button control before moving on to MIDI control.
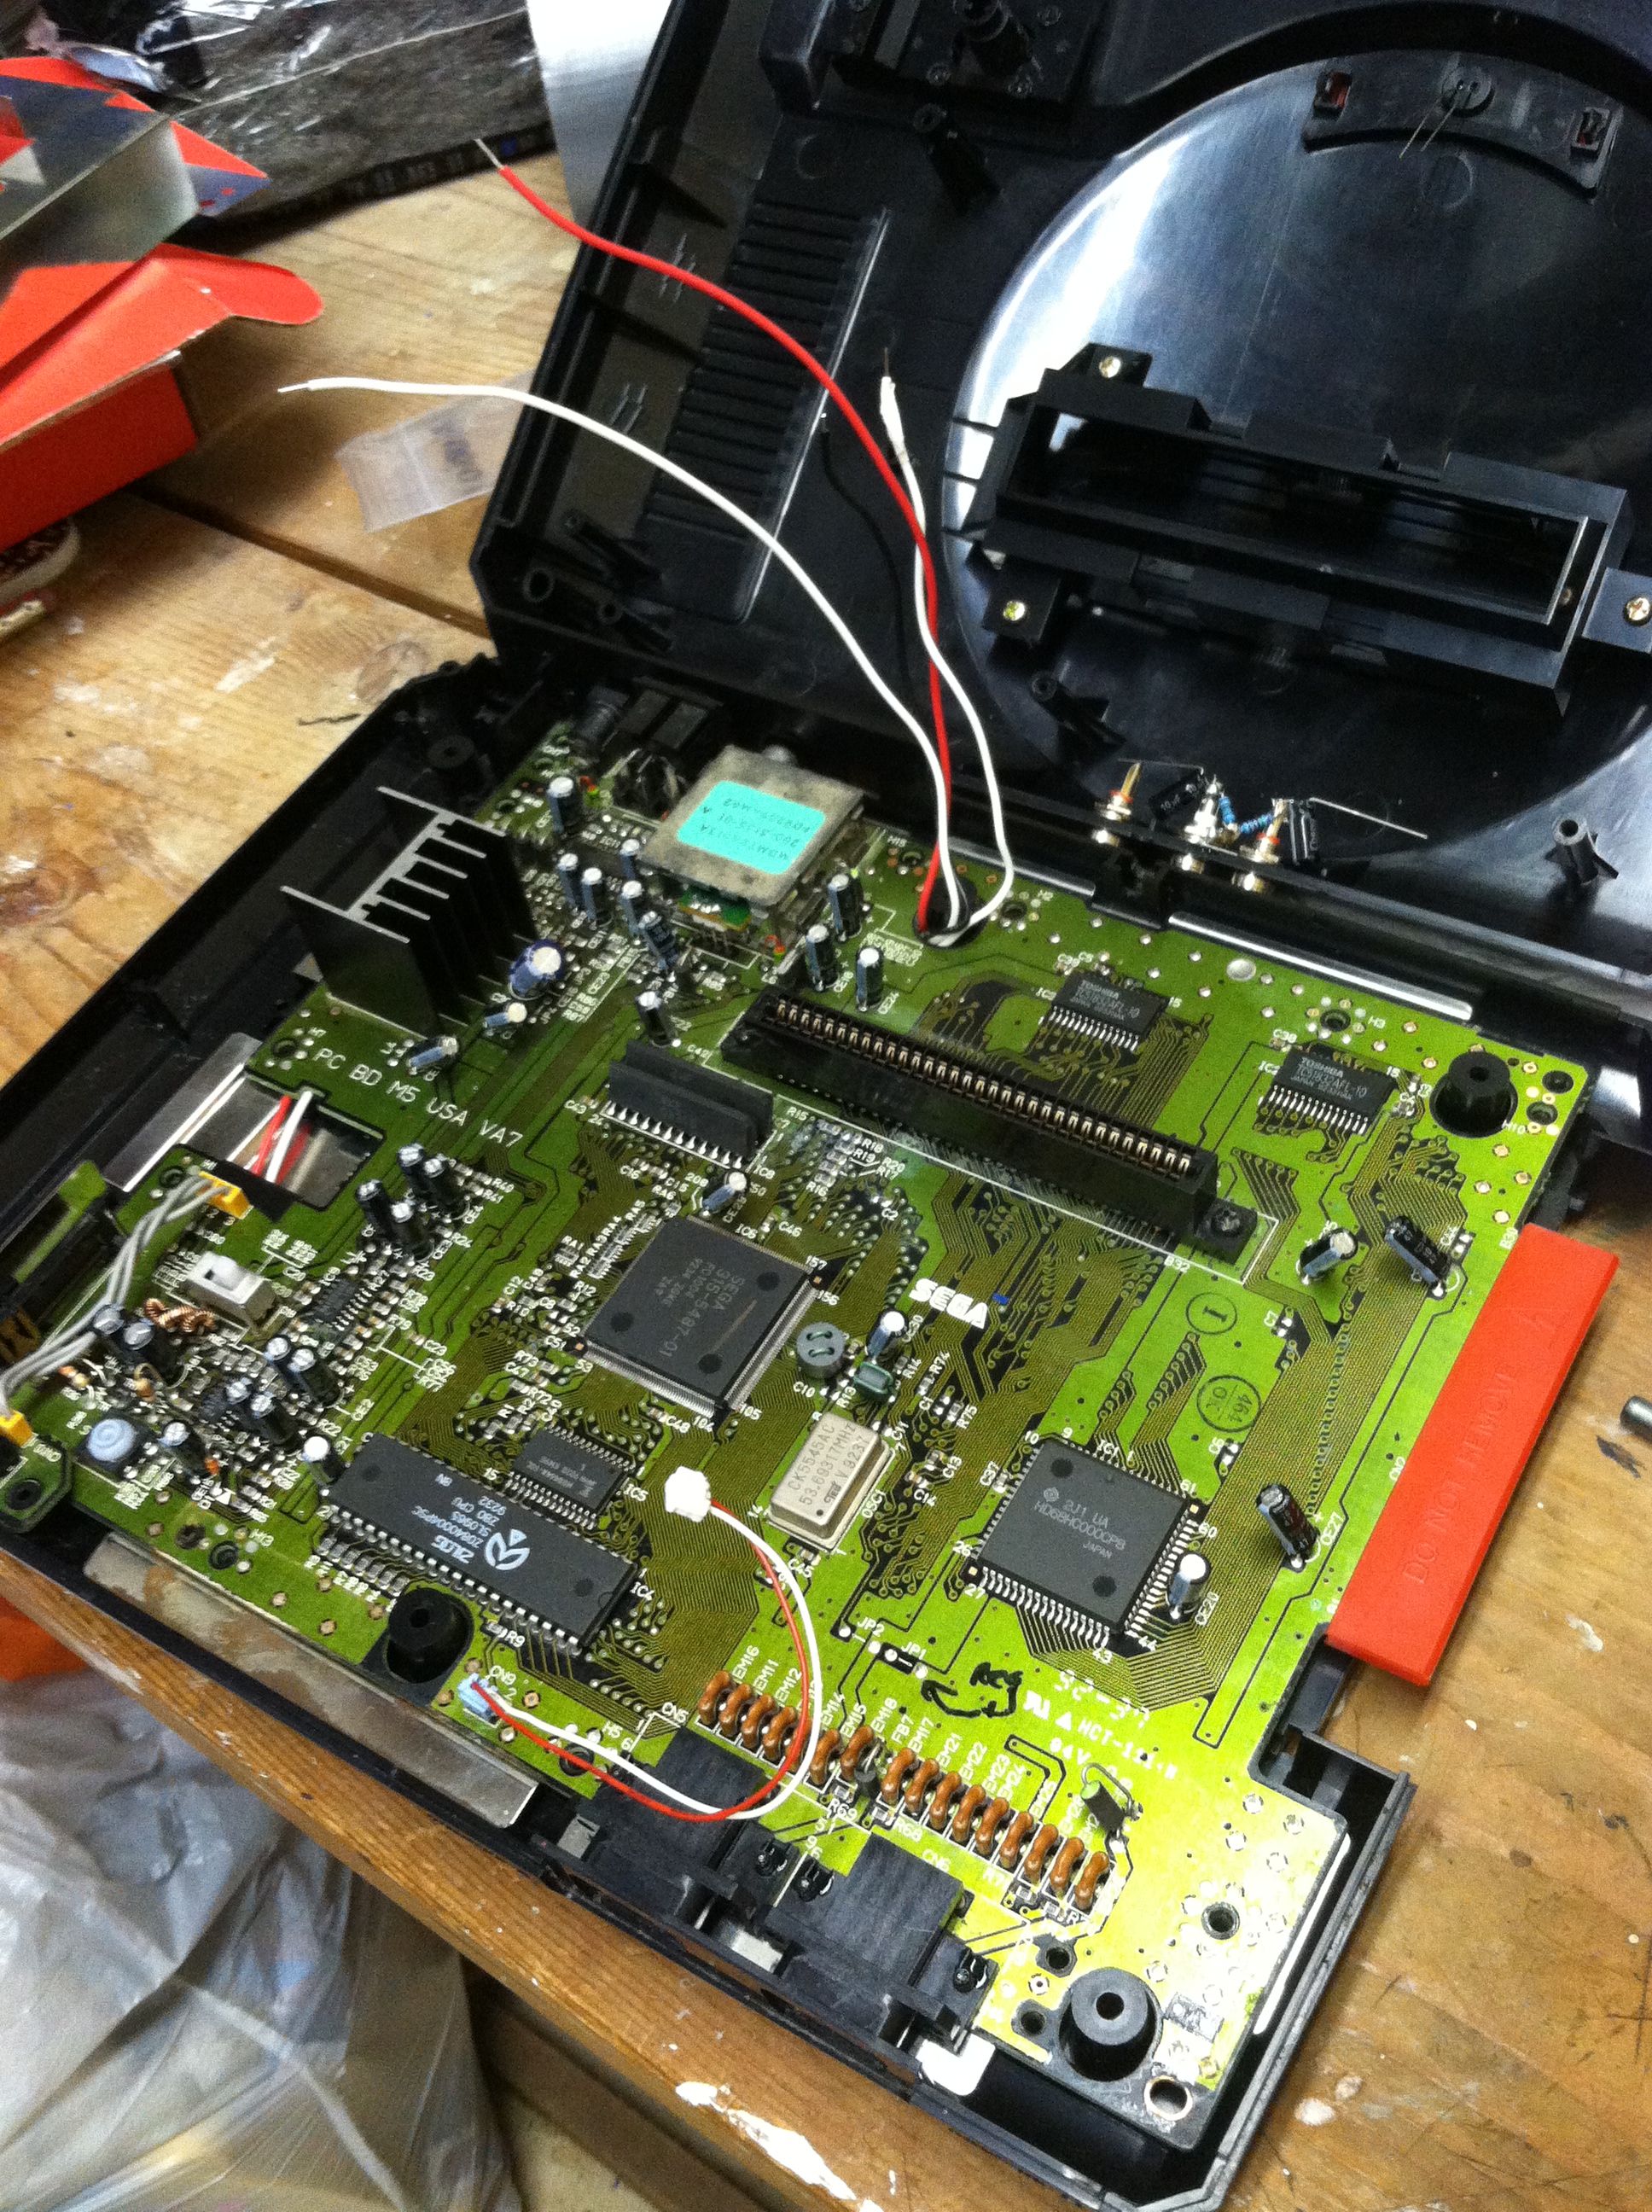
Wires soldered to the underside of the VRAM
Here are the pins of the VRAM with some wires from some selected spots. Purists might fault me for not running off of all of the 44 available points (48 minus the two VCCs and two grounds), but I didn’t have that many buttons anyway.
Not a huge fan of electrical tape, but what can you do?
Wires run to a set of female headers
After taping things down, I ran the wires to a set of headers. The reason for using headers is to keep the ability to remove the top of the Genesis if I want to get back inside for any reason.
Female headers plug into phone keypad
I had a phone keyboard kicking around, and I figured this would be a simple alternative to setting up a matrix of buttons. How this works, then, is any one button connects two points (which two points hardly matters), and if one holds down multiple buttons at the same time, several data points start cross-talking with different visual results
Are you ready for this?
Behold!
The Keypad-Controlled Glitch Genesis!
Here’s a video of it in action:
Now, of course, while I’m stoked about my new toy, this instrument is not yet what I set out to do (and what the title of these posts proclaims).
MIDI-Control, though is just a quick hop away. Next time, I’m going to get a new Teensy, install it in the Genesis, and program it to control the connections via USB MIDI control (likely with some simple transistor work).
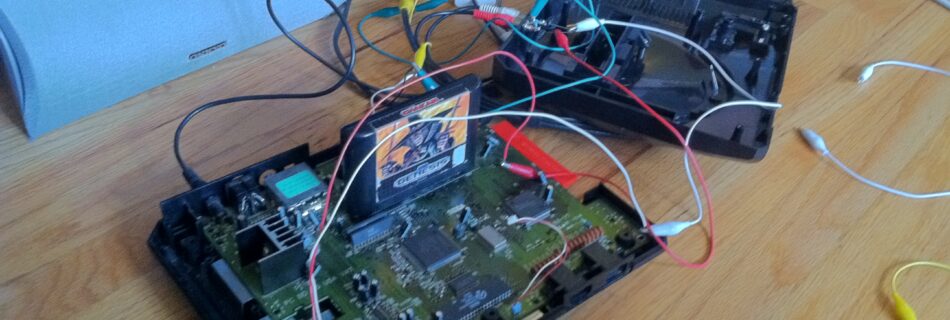
Continuing my Sega Genesis Project, now that I’ve got the video in a form my TV can understand, time to start messing with things.
Repeating my disclaimer: Messing with things plugged into an outlet is dangerous! I’m only doing this because the Genesis has an adapter that converts the voltage to 10V DC long before the power gets anywhere near the board.
When in doubt, only circuit-bend things that are battery powered. Think of how embarrassing it would be for your parents (or wife and son) to explain that you died trying to get glitchy video from a game system.
Anyway, that said, time to start poking around a bit.
These are the Video RAM chips whose connections I’m going to bridge. They have 24 connectors apiece, and one on each is the power, one on each is the ground, everything else (I believe) is data. So all we’re going to do is send some of that data to the wrong places.
The VRAM from the bottom
I’m going to poke around the bottom here, because the contacts are more accessible.
(By the way, the resistor and capacitor you see here are not my work, just an afterthought by the designers of the PCB.)
Let the fun begin!
That looks pretty glitchy to me.
I’ve found a few points that give a variety of effects (relatively). The next step (next time) is going to be installing a way to control these. I’ve decided I’m going to start with a push-button system before moving on to the MIDI control for two reasons:
1.) Moving in small steps seems wise.
2.) I’ve used up this month’s tinkering budget, and I’m going to need a Teensy to get the MIDI working.
The Genesis uses a Yamaha FM synthesis chip for sound, which might be interesting to dig into at some point, but my main goal in cracking this machine open was to try some video circuit-bending: apparently pretty easy to do, bridging the legs of the VRAM.
First, though, I didn’t have the little box that I need to hook the Genesis up to the TV, so, instead of trying to track one down, I decided to install component video RCA outs.
So, away we go!
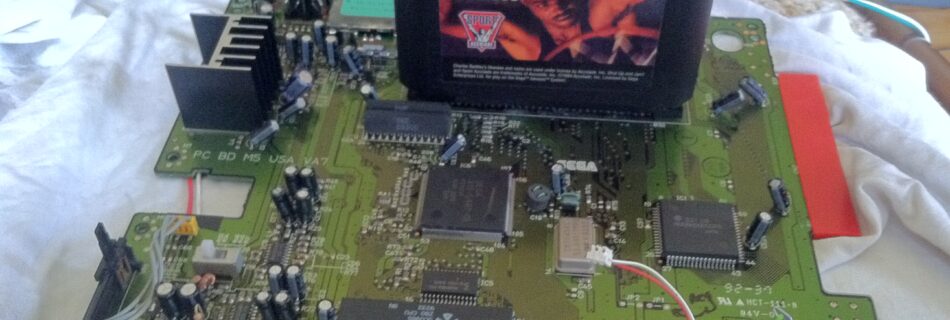
The Sega Genesis Board
A “VA7,” alas
After some poking around on the internet, I found that there are lots of different revisions to the Genesis circuit board, and this, the VA7, is apparently the least desirable. The audio is actually synthesized on a different chip, but Sega didn’t account for the difference in output volume of the new chip in the internal amplifier, so the sound has all kinds of digital distortion.
Well, that just means if I fry this thing, I won’t feel so bad.
Wires for component out
Testing the component out
Quick disclaimer: Messing with things plugged into an outlet is dangerous! I’m only doing this because the Genesis has an adapter that converts the voltage to 10V DC long before the power gets anywhere near the board.
When in doubt, only circuit-bend things that are battery powered. Think of how embarrassing it would be for your parents to explain that you died trying to get glitchy video from a game system.
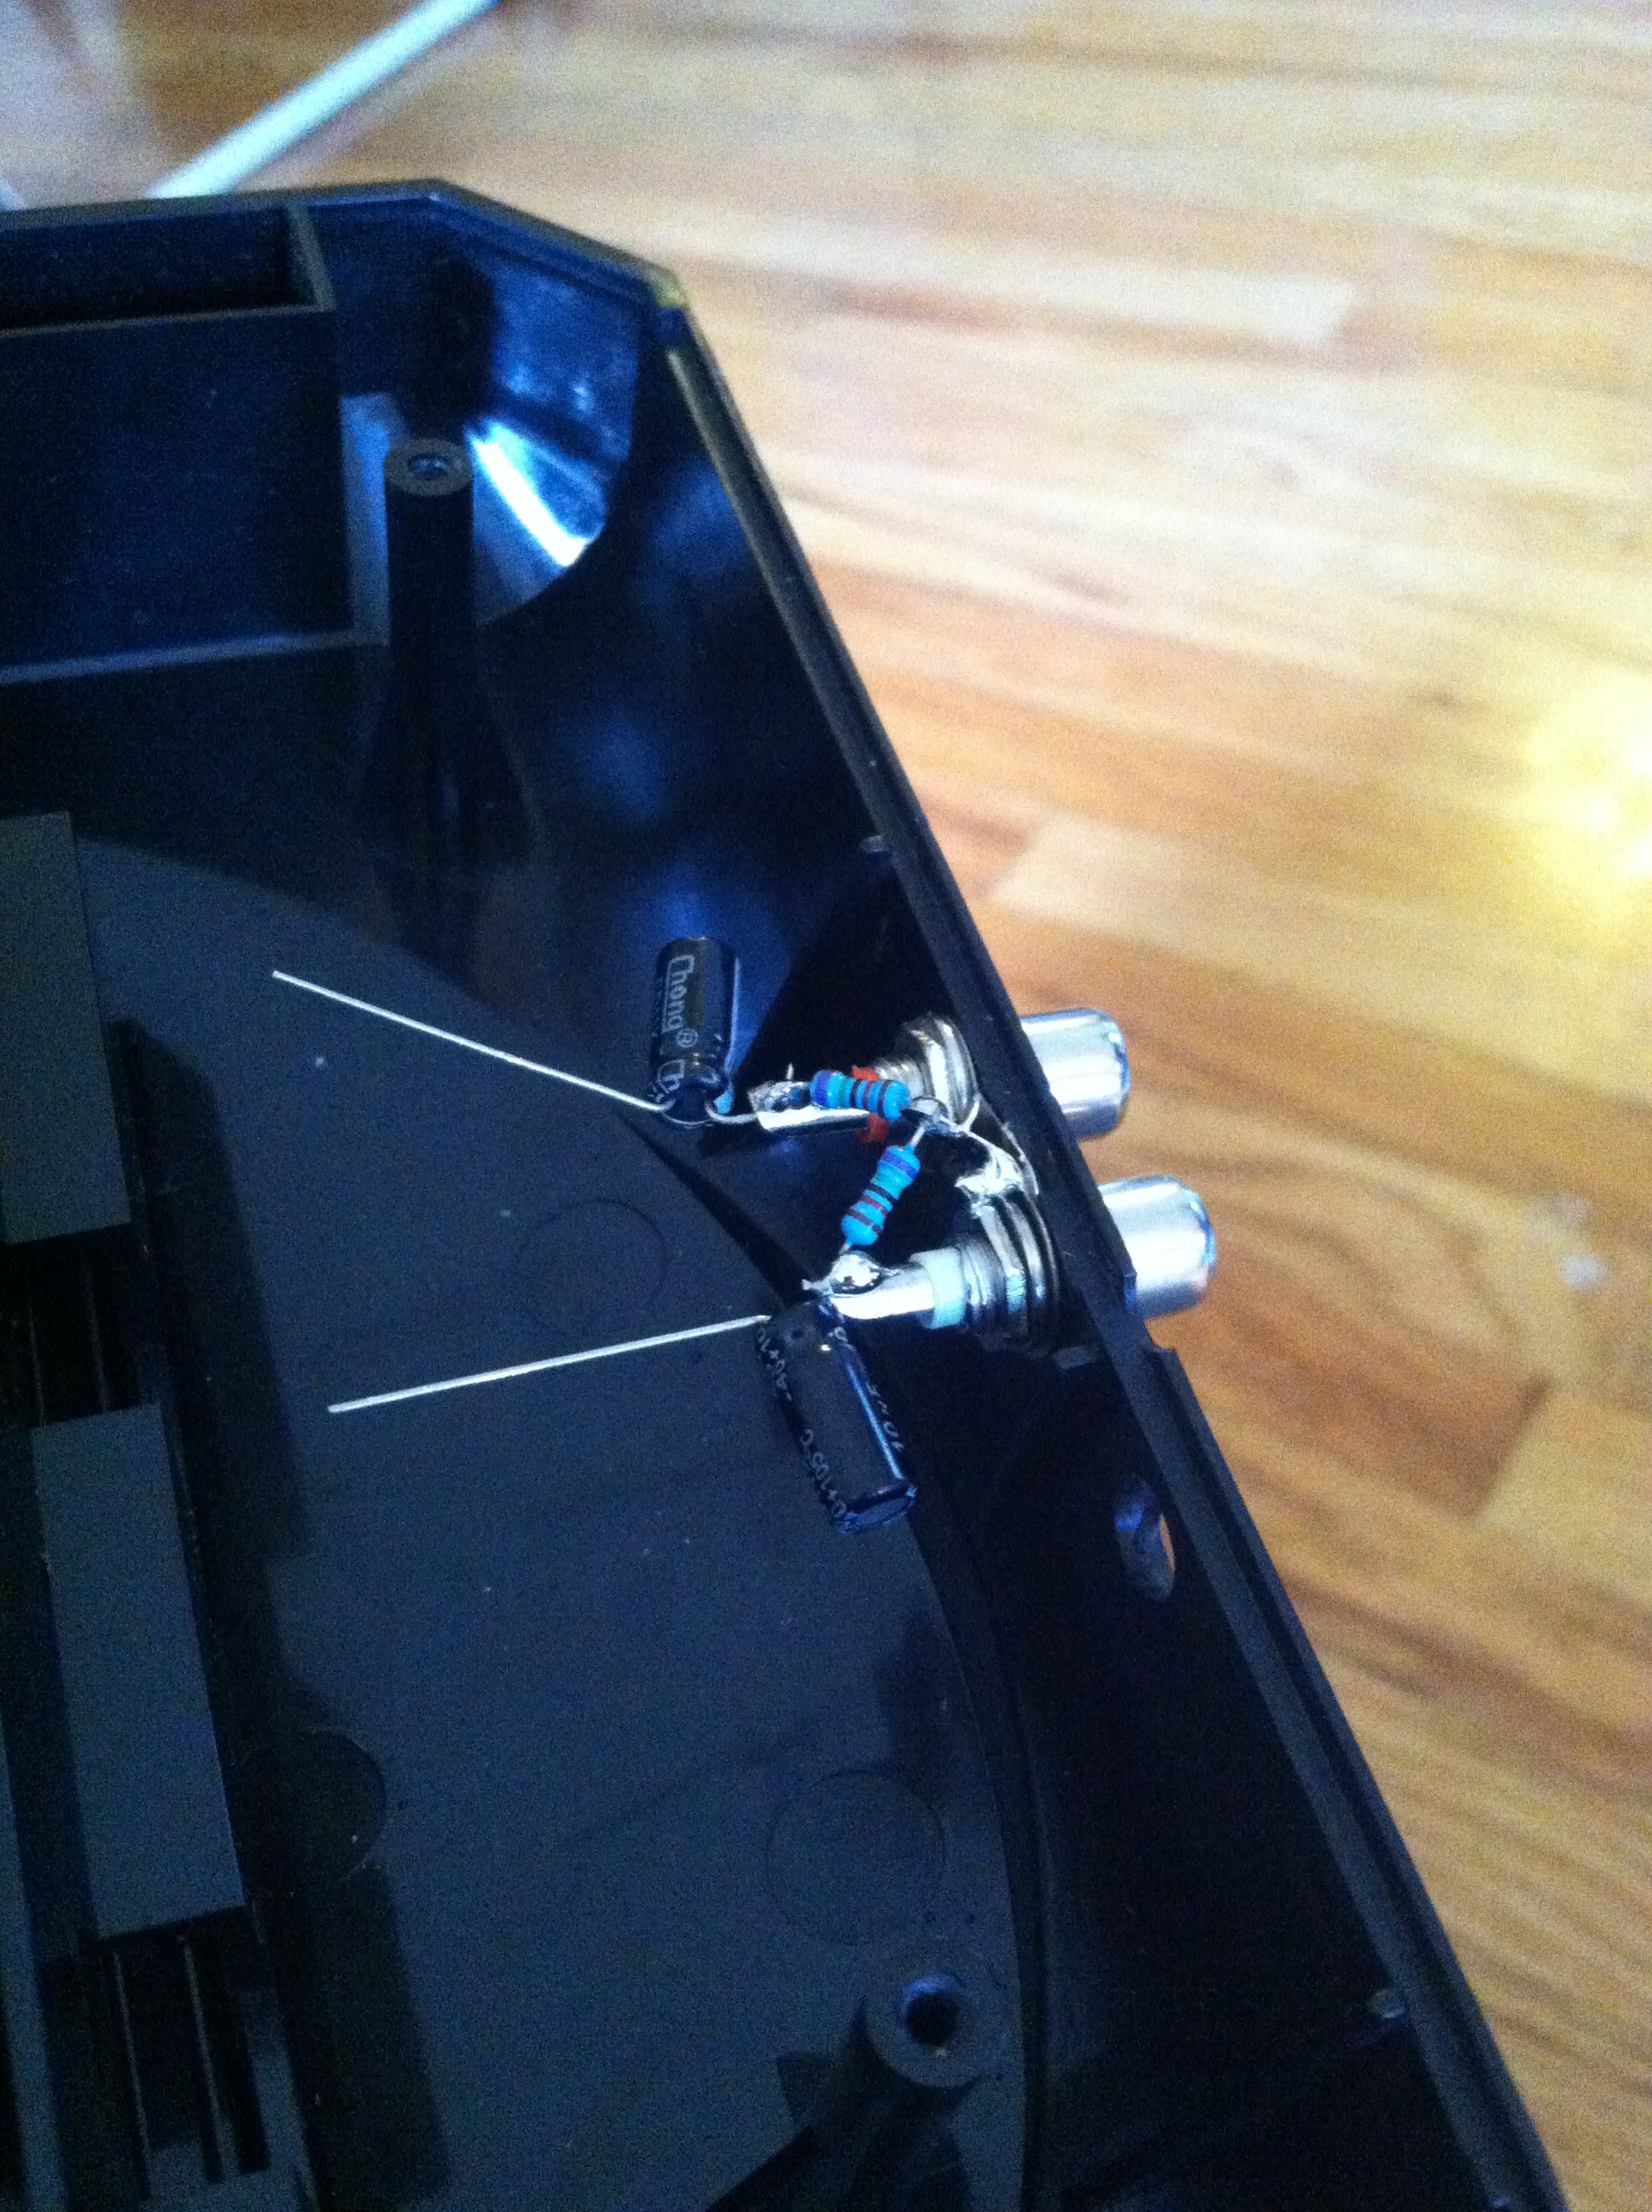
Some quick audio mods
Hearing the complaints about the sound on the VA7, I did a quick adjustment by adding a resistor to pull things down a bit, and a capacitor to roll off some highs (I think that’s how it works. Someone please correct me if I’m wrong).
I’ve since found someone designed a Crystal Clear Audio Mod, which seems a lot more involved (and likely better) than my “quick and dirty” solution.
Looks like it all works!
Success! Next step: start glitching that video feed.
Check back for Part 2 soon.
“Inspiration does exist, but it must find you working.” – Pablo Picasso