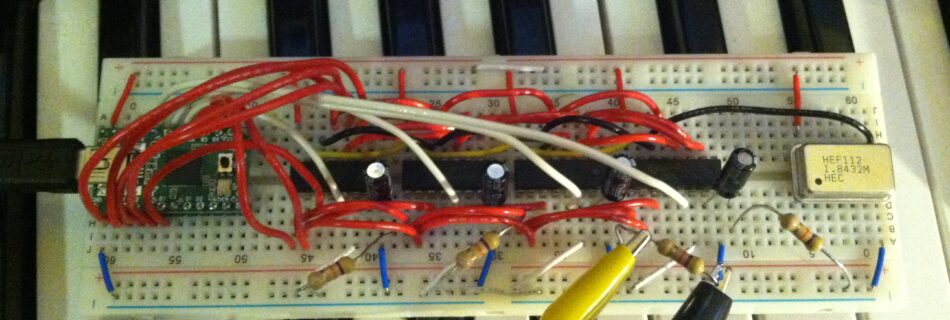

Since the winter break, I’ve been tinkering around with some chiptune projects, and I’ve got quite caught up in the simultaneous progressive and regressive sound design of composing with chips of the 1980s and 90s. Perhaps its a stretch, but I believe this kind of cultural re-appropriation as directly akin to drawing influences from outside Western Music.
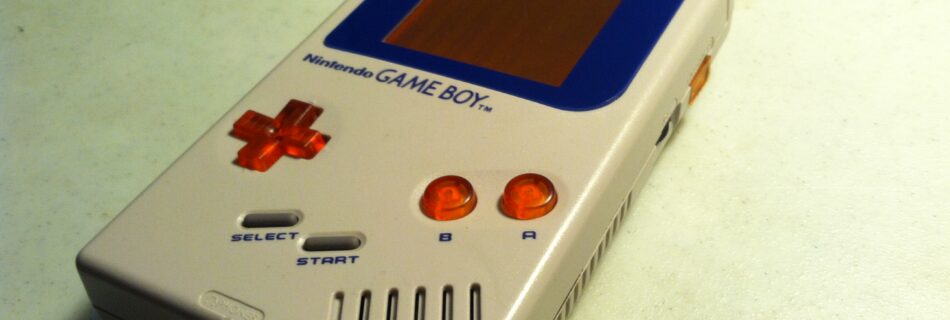
Philosophy aside for the moment, as my first gaming system was the original Game Boy, I’m particularly interested in the circuit-bending and customization artists are doing with these old devices, so I’ve been getting my hands dirty for the last couple of months customizing these two Game Boys that I picked up on Craigslist.
While a lot of the work was purely cosmetic, I did a “Pro Sound” mod on both of them, which basically is just bypassing the internal (noisy) headphone amplifier and putting in some RCA jacks. On the Game Boy Color here, I also bypassed the existing audio output capacitors with some bigger ones, which supposedly gives a bass boost. While I hope to do some more experimenting in the future, most of what I did to these two units was a matter of just following instructions.
I’m calling the original Game Boy “MIKAN.” Customizations:
- Orange screen backlight
- “Pro Sound” RCA Mod
- Custom buttons, ON/OFF switch, screen lens, link cover, orange LED, and battery cover


The Game Boy Color, “BUDO,” has:
- Green LED
- Original (broken) speaker replaced with Nintendo DS speaker
- “Pro Sound” with bass boost capacitors to RCA outs
- “Anti-noise” decoupling capacitor
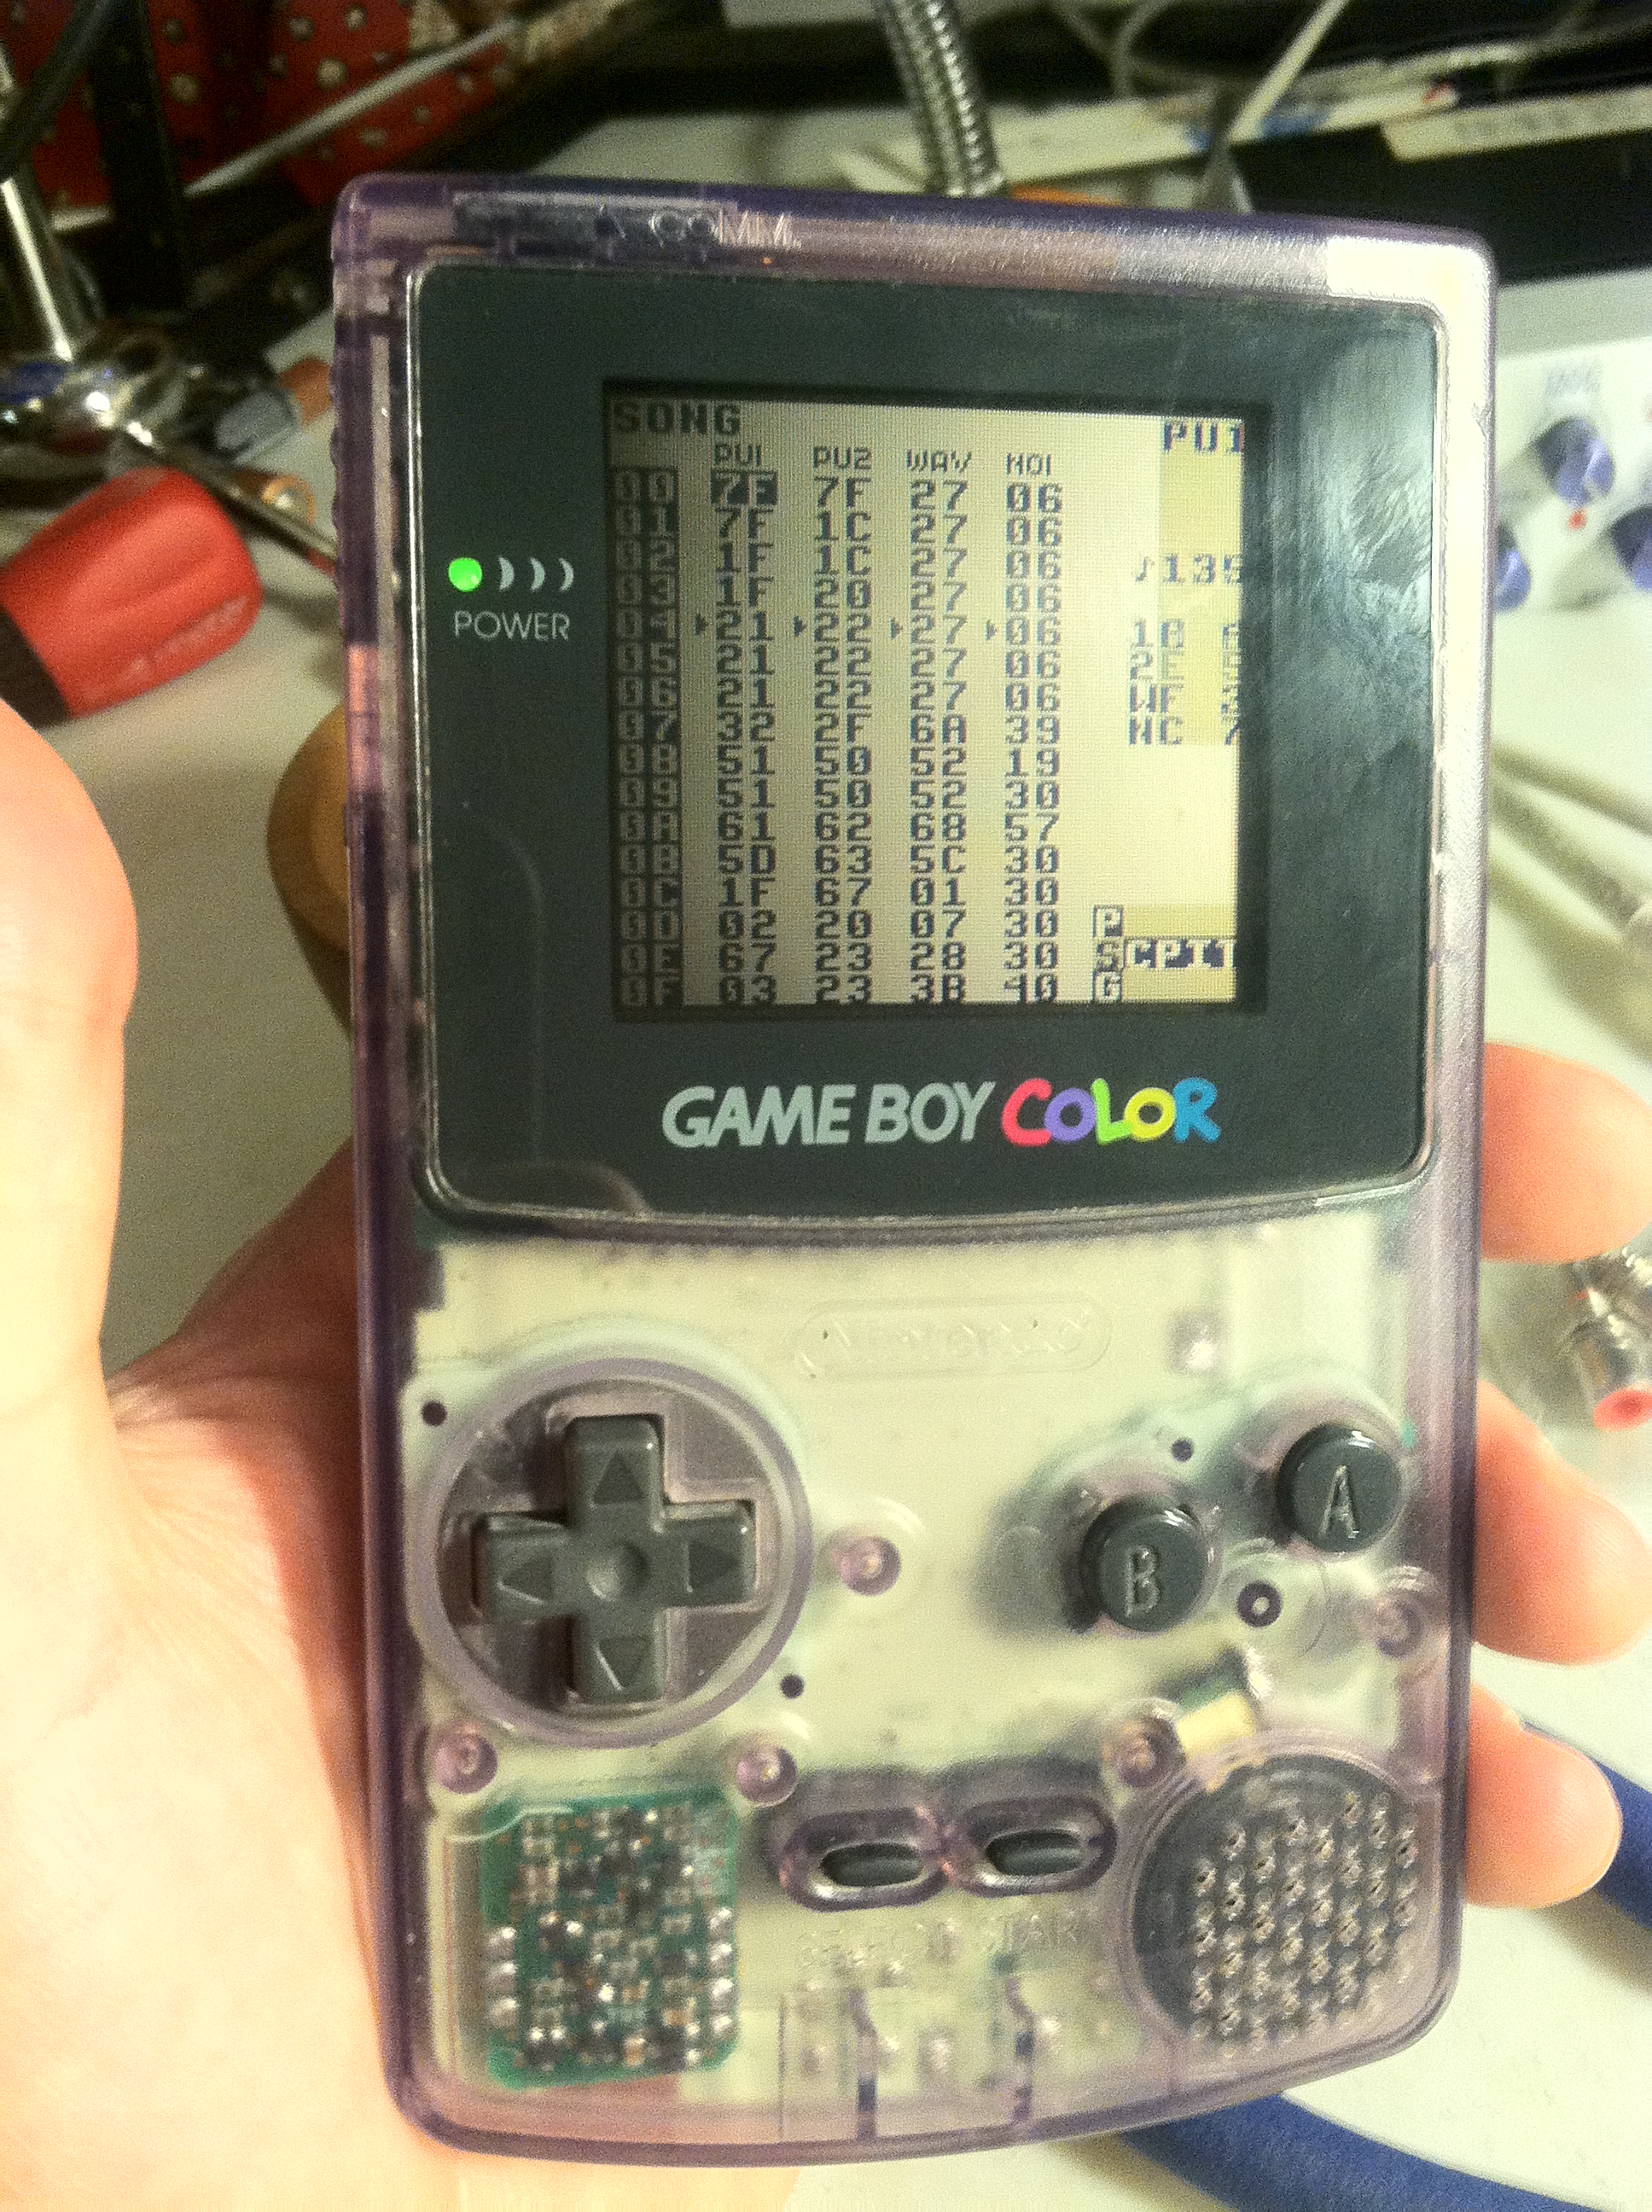


They both have their own peculiarities in terms of sound. BUDO has some sub-audio in its output (perhaps a result of the bass boost), and MIKAN, without a decoupling capacitor, sometimes has “clicks” at the start of sounds (perhaps related to the DC power somehow). I’ll post some sound samples as I keep working on my current project.
I have to say it’s really fun and rewarding to do these customizations. While I’m working on a piece now that uses these “instruments,” I’m also trolling Craigslist for another cheap Game Boy so I can do the customizations again (and try some new things).
Of course, lest I give the impression that I’m the first one to be playing with the ideas in the realm of concert art music, check out this fantastic piece by Matthew Joseph Payne, performed by Meerenai Shim, flight of the bleeper bird.